之前写了一篇文章Flask 15行代码自动回复机器人(附vue前端)介绍了下客户端与服务器机器人聊天,日常需求不止这一个场景,更多的是客户端相互之间的私聊与群聊,今天我们在之前的基础上再添加几行代码,一样能轻松地实现群聊与私聊。
我们先来思考下如何实现:
首先,昨天代码我们可以获取到每个客户端socket,那我们是否可以把这些客户端socket临时存放起来,某一个客户端socket发来消息我们就循环下之前存取的socket,给每个客户端socket发送下刚才受到的消息呢?这样的话不就是我们需要的群聊场景吗?
再说下私聊,我们存取的时候能否给每个客户端socket做一个标识呢?类似字典,多存取一个键来区分客户端socket,客户端发来消息时服务端除了要接受这个socket之外,还需要另外接收一个客户端的唯一标识,服务器收到这个消息通过这个标识找到其对应的客户端socket并将刚才收到消息发送给他,这不就是我们想要的私聊场景吗?
接下来我们来实现以上功能。
群聊
通过以上的业务分析,群聊实现起来更简单一点,我们这里就先实现群聊功能。另外群聊这里我们说下,前端代码我们无需任何更改,只更改服务端即可,所以我们这里之放服务端的代码,需要前端代码的请至:Flask 15行代码自动回复机器人(附vue前端)。
服务端代码
1
2
3
4
5
6
7
8
9
10
11
12
13
14
15
16
17
18
19
20
21
22
23
24
25
26
27
28
29
30
31
32
33
34
35
| import json
from flask import Flask, request
from geventwebsocket.handler import WebSocketHandler
from gevent.pywsgi import WSGIServer
app = Flask(__name__)
user_list = set()
@app.route('/msg')
def msg():
user_socket = request.environ.get('wsgi.websocket')
user_list.add(user_socket)
while 1:
msg = user_socket.receive()
for usocker in user_list:
res = {"id" : 0, "user" : 'https://pic.qqtn.com/up/2018-2/15175580434330335.gif', "msg" : '您刚才发送的消息为:【'+str(msg)+'】'}
usocker.send(json.dumps(res))
if __name__ == '__main__':
http_server = WSGIServer(('0.0.0.0', 9687), app, handler_class=WebSocketHandler)
http_server.serve_forever()
|
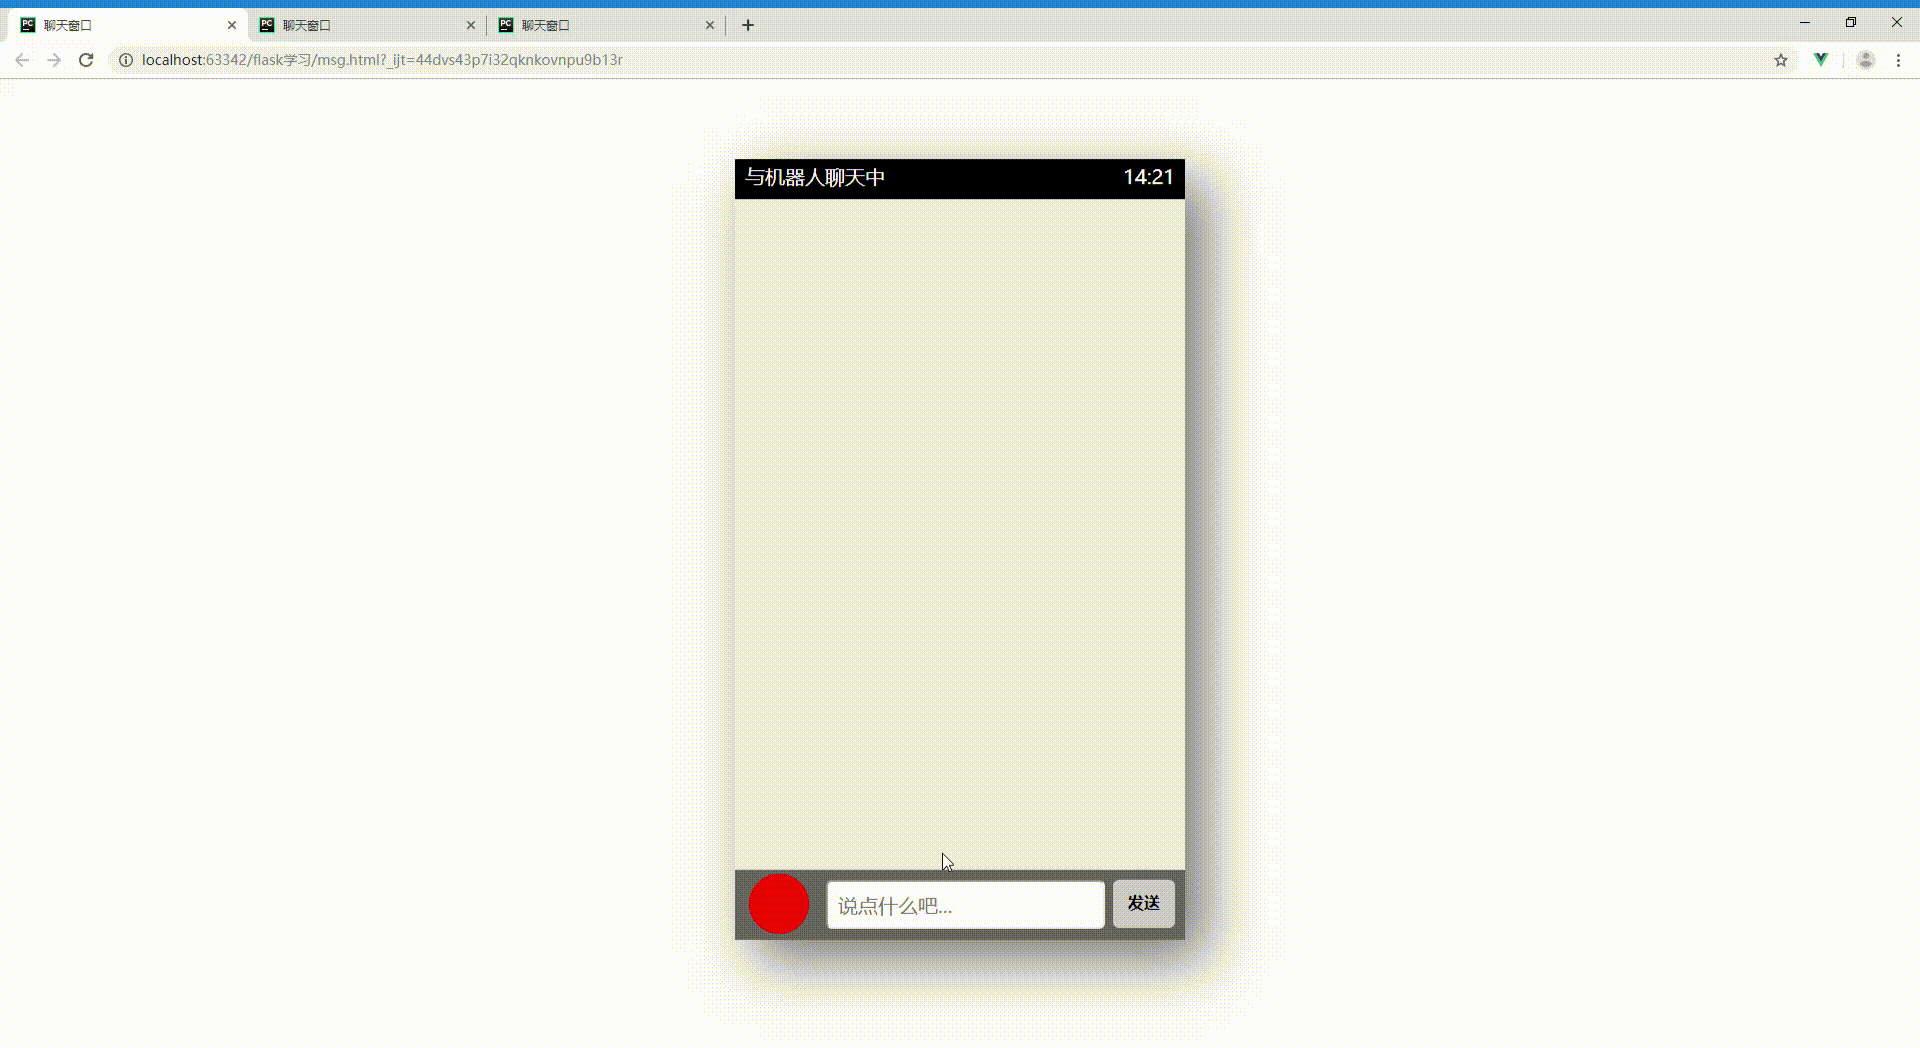
![]()
修复bug
运行以上代码我们前端进行测试,所有客户端已经可以接收到某个客户端发送的消息了,但是还有一单欠缺,因为发送者自己也收到了刚才自己发送的消息,其实我们在循环的时候判断下发送者是否等于接受者就可以了。
具体实现在25行以后加上以下代码:
1
2
3
|
if user_socket == usocker:
continue
|
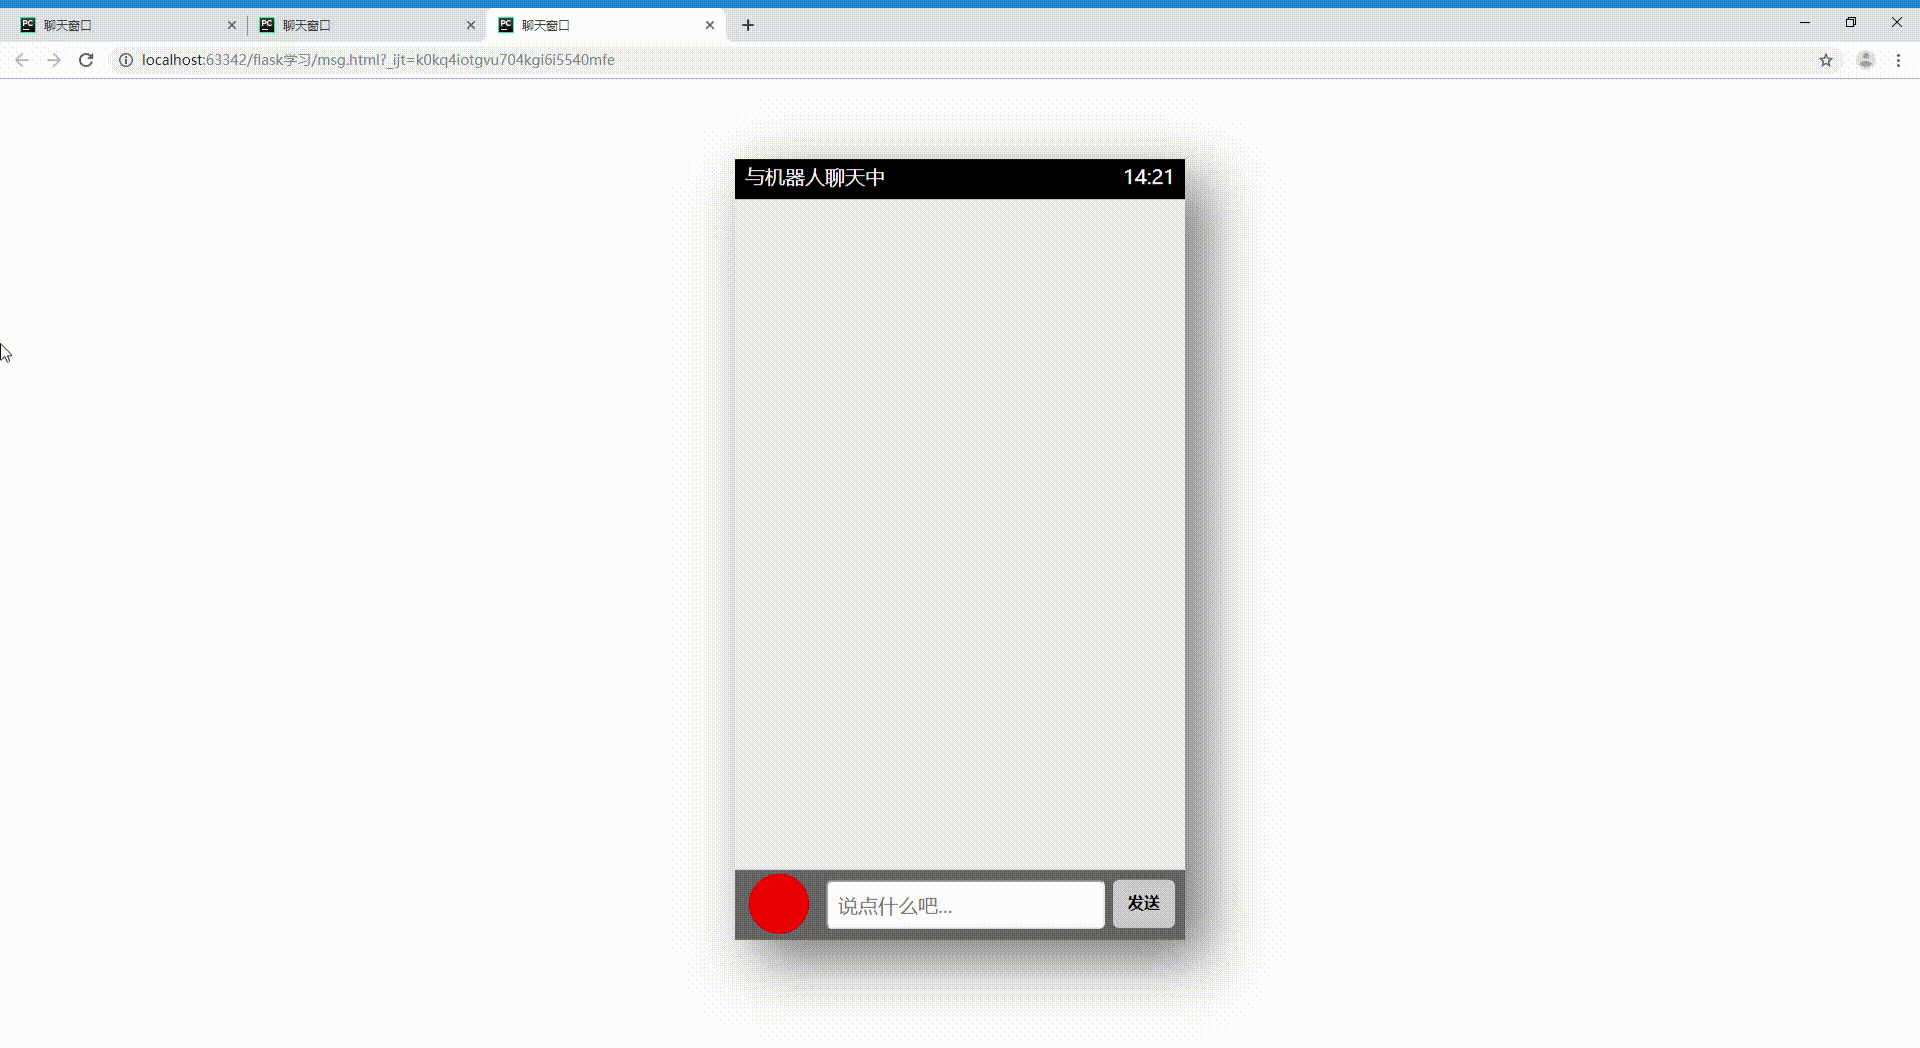
![]()
私聊
上面大概说了私聊的原理,下面我们来具体实现:
服务端代码
1
2
3
4
5
6
7
8
9
10
11
12
13
14
15
16
17
18
19
20
21
22
23
24
25
26
27
28
29
30
31
32
33
34
35
36
37
38
39
40
41
42
43
44
45
46
47
48
49
| import json
from flask import Flask, request
from geventwebsocket.handler import WebSocketHandler
from gevent.pywsgi import WSGIServer
app = Flask(__name__)
user_dicts = {}
@app.route('/msg/<uname>')
def msg(uname):
user_socket = request.environ.get('wsgi.websocket')
user_dicts[uname] = user_socket
while 1:
msg = json.loads(user_socket.receive())
toUser = user_dicts.get(msg['to'])
if toUser:
res = {"id": 0, "user": 'https://pic.qqtn.com/up/2018-2/15175580434330335.gif',
"msg": msg['msg']}
toUser.send(json.dumps(res))
else:
res = {"id": 0, "user": 'https://pic.qqtn.com/up/2018-2/15175580434330335.gif',
"msg": '很抱歉,您要发送的用户不存在'}
user_socket.send(json.dumps(res))
@app.route("/")
def index():
return render_template("layout.html")
if __name__ == '__main__':
http_server = WSGIServer(('0.0.0.0', 9687), app, handler_class=WebSocketHandler)
http_server.serve_forever()
|
前端代码
1
2
3
4
5
6
7
8
9
10
11
12
13
14
15
16
17
18
19
20
21
22
23
24
25
26
27
28
29
30
31
32
33
34
35
36
37
38
39
40
41
42
43
44
45
46
47
48
49
50
51
52
53
54
55
56
57
58
59
60
61
62
63
64
65
66
67
68
69
70
71
72
73
74
75
76
77
78
79
80
81
82
83
84
85
86
87
88
89
90
91
92
93
94
95
96
97
98
99
100
101
102
103
104
105
106
107
108
109
110
111
112
113
114
115
116
117
118
119
120
121
122
123
124
125
126
127
128
129
130
131
132
133
134
135
136
137
138
139
140
141
142
143
144
145
146
147
148
149
150
151
152
153
154
155
156
157
158
159
160
161
162
163
164
165
166
167
168
169
170
171
172
173
174
175
176
177
178
179
180
181
182
183
184
185
186
187
188
189
190
191
192
193
194
195
196
197
198
199
200
201
202
203
204
205
206
207
208
209
210
211
212
213
214
215
216
217
218
219
220
221
222
223
224
225
226
227
228
229
230
231
232
233
234
235
236
| <!DOCTYPE html>
<html lang="zh-CN">
<head>
<meta charset="utf-8">
<meta http-equiv="X-UA-Compatible" content="IE=edge">
<meta name="viewport" content="width=device-width, initial-scale=1">
<title>聊天窗口</title>
<style>
* {
margin: 0;
padding: 0;
list-style: none;
font-family: '微软雅黑'
}
.container {
width: 450px;
height: 780px;
background: #eee;
margin: 80px auto 0;
position: relative;
box-shadow: 20px 20px 55px #777;
}
.header {
background: #000;
height: 40px;
color: #fff;
line-height: 34px;
font-size: 20px;
padding: 0 10px;
}
.footer {
width: 430px;
height: 50px;
background: #666;
position: absolute;
bottom: 0;
padding: 10px;
}
.footer input {
width: 275px;
height: 45px;
outline: none;
font-size: 20px;
text-indent: 10px;
position: absolute;
border-radius: 6px;
right: 80px;
}
.footer span {
display: inline-block;
width: 62px;
height: 48px;
background: #ccc;
font-weight: 900;
line-height: 45px;
cursor: pointer;
text-align: center;
position: absolute;
right: 10px;
border-radius: 6px;
}
.footer span:hover {
color: #fff;
background: #999;
}
#user_face_icon {
display: inline-block;
background: red;
width: 60px;
height: 60px;
border-radius: 30px;
position: absolute;
bottom: 6px;
left: 14px;
cursor: pointer;
overflow: hidden;
}
img {
width: 60px;
height: 60px;
}
.content {
font-size: 20px;
width: 435px;
height: 662px;
overflow: auto;
padding: 5px;
}
.content li {
margin-top: 10px;
padding-left: 10px;
width: 412px;
display: block;
clear: both;
overflow: hidden;
}
.content li img {
float: left;
}
.content li span {
background: #7cfc00;
padding: 10px;
border-radius: 10px;
float: left;
margin: 6px 10px 0 10px;
max-width: 310px;
border: 1px solid #ccc;
box-shadow: 0 0 3px #ccc;
}
.content li img.imgleft {
float: left;
}
.content li img.imgright {
float: right;
}
.content li span.spanleft {
float: left;
background: #fff;
}
.content li span.spanright {
float: right;
background: #7cfc00;
}
</style>
</head>
<body>
<div id="app">{% raw %}
<div class="container" v-if="sender && recever">
<div class="header">
<span style="float: left;">与{{ recever }}聊天中</span>
<span style="float: right;">14:21</span>
</div>
<ul class="content">
<li v-for="(item,index) in messages_list" v-key="index">
<img v-bind:src="item.user" v-bind:class="{'imgright':item.id}"><span v-bind:class="{'spanright':item.id}">{{item.msg}}</span>
</li>
</ul>
<div class="footer">
<div id="user_face_icon">
<img src="http://www.xttblog.com/icons/favicon.ico" alt="">
</div>
<input id="text" v-model="sends" type="text" placeholder="说点什么吧...">
<span id="btn" v-on:click="sendMessage">发送</span>
</div>
</div>
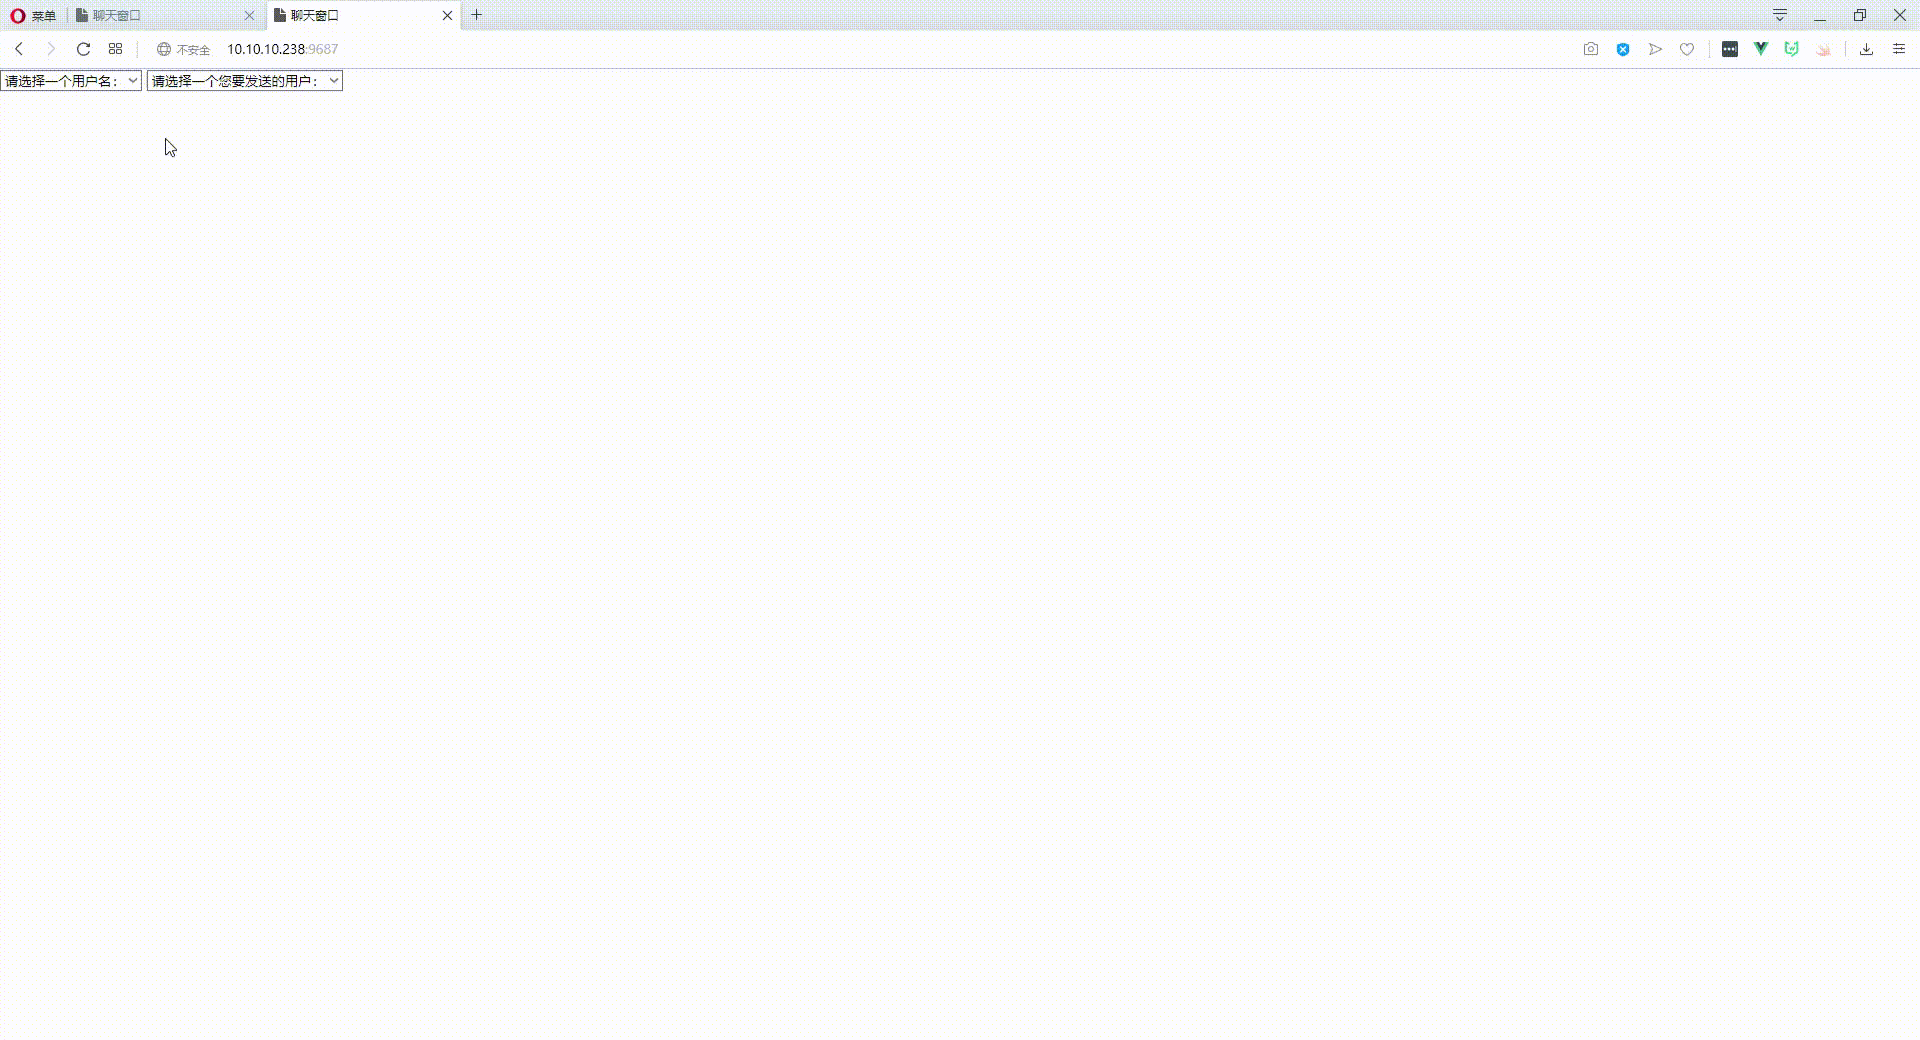
<div v-else>
<select v-model="sender">
<option disabled value="">请选择一个用户名:</option>
<option v-for="(user, index) in users_list" v-key="index" v-if="user!=recever">{{ user }}</option>
</select>
<select v-model="recever">
<option disabled value="">请选择一个您要发送的用户:</option>
<option v-for="(user, index) in users_list" v-key="index" v-if="user!=sender">{{ user }}</option>
</select>
</div>
{% endraw %}
</div>
<script src="https://cdn.bootcss.com/vue/2.6.10/vue.common.dev.js"></script>
<script>
var ws;
var app = new Vue({
el: '#app',
data: {
users_list:["张学友", "刘德华", "郭富城" ,"黎明"],
sender:'',
recever:'',
sends: '',
messages_list: []
},
watch: {
messages_list: function (newQuestion, oldQuestion) {
var content = document.getElementsByTagName('ul')[0];
content.scrollTop = content.scrollHeight;
},
sender: function (newQuestion, oldQuestion) {
if (newQuestion){
ws = new WebSocket(`ws://10.10.10.238:9687/msg/${newQuestion}`)
ws.onmessage = function (data) {
app.messages_list.push(JSON.parse(data.data))
}
}
}
},
methods: {
sendMessage: function () {
this.messages_list.push({
id: 1,
user: 'https://pic.qqtn.com/up/2018-2/15175580428030394.gif',
msg: this.sends
})
sendDatas = {
to : this.recever,
msg: this.sends
}
ws.send(JSON.stringify(sendDatas))
this.sends = ''
}
}
})
</script>
</body>
</html>
|
![]()
![]()